Assess my portrait

Qoves AI

Your portrait, in focus.

See how light, framing and styling shape your portrait. Get a six-part analysis, then try a new look on your own photo.

Try another look on the same portrait

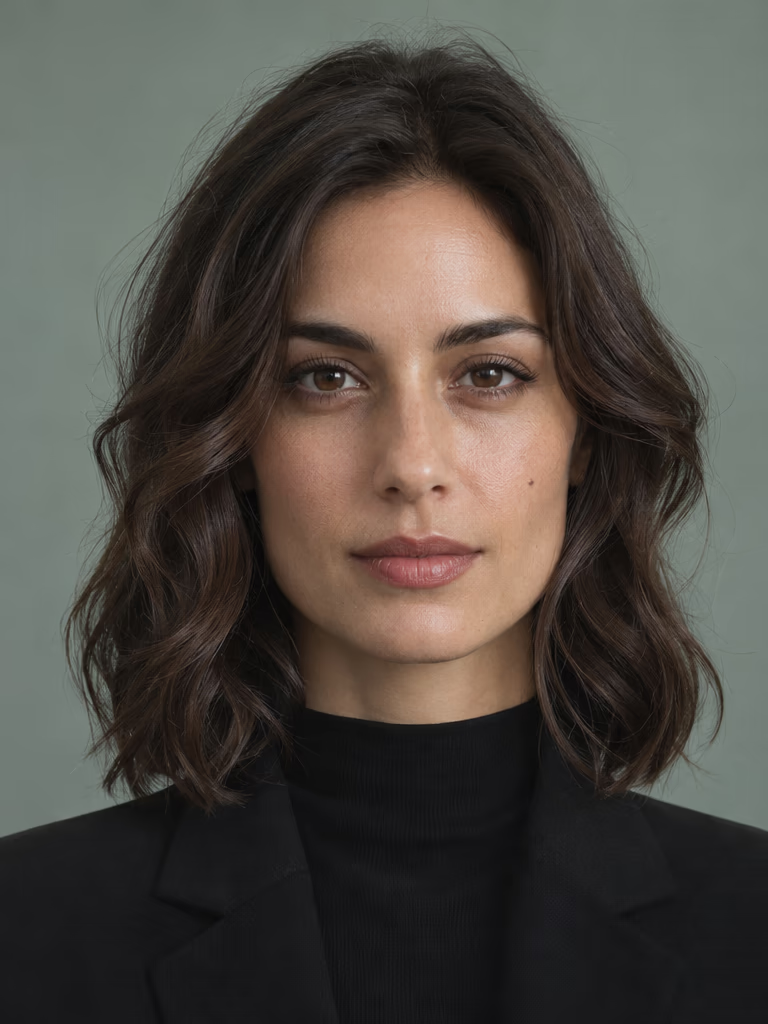
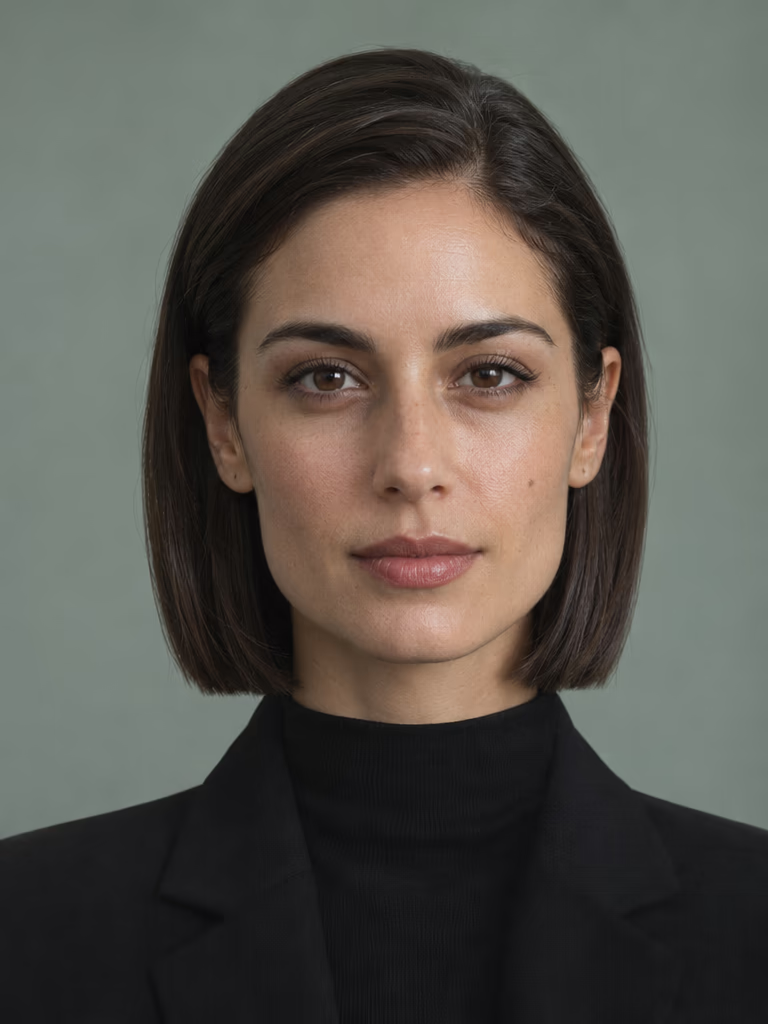
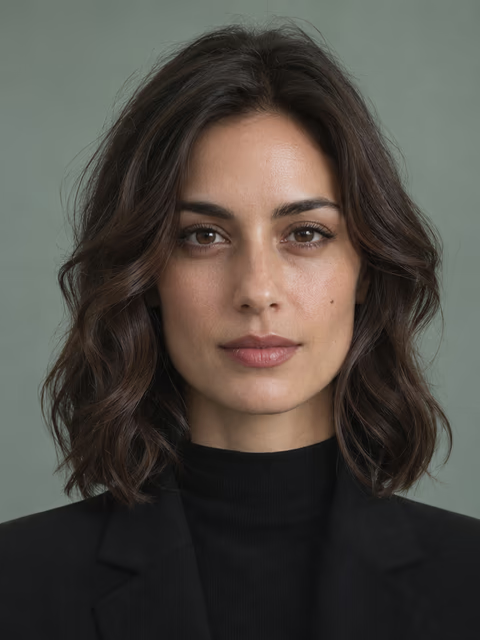
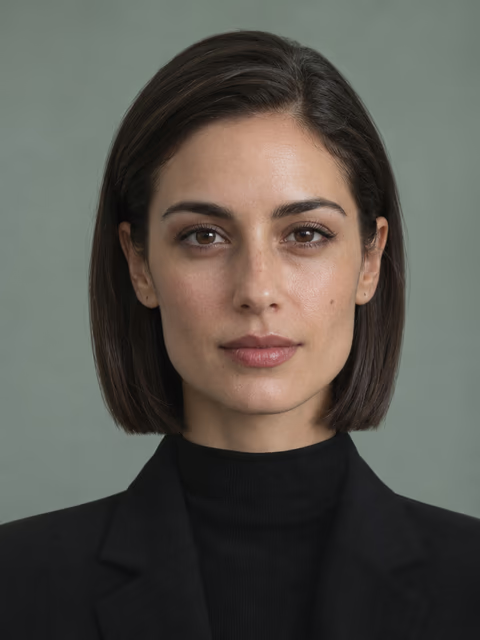
Drag the sliders to compare how a new haircut frames the face. Your full report recommends 3 looks that the Style Studio can preview on your own portrait.

Style studio

Illustrations made with fictional models. A preview shows how a style could look in a photo.

Qoves AI Method v1.1

What can a portrait actually tell you?

Distance changes apparent proportions. Light changes texture and contour. Hair changes the frame around your features. Our method records these effects so you can decide what to try next.

Measure three proportions

Your browser detects 478 landmarks. We divide outer eye span, mouth width and face height by the width of the face in this image. A consistent angle and distance make these two-dimensional ratios easier to compare across photos.
Document what the AI sees

The AI reviews the portrait and its measured ratios. Each finding cites visible evidence, explains a limitation and suggests a reversible change you can test in a second photo.

Frontal portrait showing the endpoints used for face width, eye span, mouth width and face height
Measured on this sample portrait
Outer eye span / face width
0.651
Mouth width / face width
0.379
Face height / face width
1.207

Six dimensions, explained

Each dimension uses the evidence available in the submitted photo. The report records when evidence is limited or a feature cannot be assessed.

  • Feature relationships

    Look at spacing and proportions across the eyes, brows, nose and mouth. Read any ratio in the context of the whole photo.

  • Outline & contours

    Observe the visible outline of the cheeks, jaw and chin. Angle, hair and shadows can obscure an edge.

  • Visible texture

    Describe the tone, texture and contrast visible in the image. Light, makeup and image processing can affect all three.

  • Hair & styling

    See how hair, brows, facial hair and glasses frame your features and draw attention to different areas.

  • Eyes & expression

    Describe visible eye opening, gaze and mouth shape at the moment the photo was taken.

  • Light & composition

    Check light direction, focus, camera height, framing and background distractions before comparing photos.

How to read the scores

Photo-specific reference score. The total is the rounded mean of all six scores, available when all six can be assessed.

The bands describe how clearly the visible elements work together in this photo. These are product-defined references. Scores have no population percentile or calibration against human raters.

  1. Very weak0–19
  2. Weak20–39
  3. Mixed40–59
  4. Coherent60–79
  5. Strong80–100

Inside a Qoves AI portrait report

Your report puts measured ratios alongside six AI findings and a short list of changes to test. Open a sample finding to see the evidence and what to try in your next portrait.

See the retake example

Illustrative scores

75 / 100
  • Feature relationships76
  • Outline & contours73
  • Visible texture70
  • Hair & styling82
  • Eyes & expression74
  • Light & composition75

Explore sample findings

Hair & stylingA parting changes where the eye lands

The waves frame both outer cheeks. A shorter side part leaves more of the cheek outline visible and changes how the brows sit within the portrait.

Evidence
In the frontal example, hair crosses the outer cheek on both sides.
Limitation
Hair volume and shadow can make the outline look wider or narrower in this frame.
Try next
Keep the camera and light fixed. Pin the hair back on one side and take a second photo to compare the outline.
Light & compositionSofter light can reveal more cheek detail

The light across the cheeks is uneven, so texture reads more clearly on the brighter side.

Evidence
In the sample photo, one cheek is noticeably brighter near the nose and under the eye.
Limitation
Photo exposure and processing can also change how strong the difference looks.
Try next
Keep the camera and pose fixed, then face a large window with a sheer curtain. Compare the detail on each cheek.
Outline & contoursHair partly covers the cheek outline

Part of the visible boundary follows the hair on both sides. The chin edge is easier to see.

Evidence
The frontal photo shows hair over the outer cheek and a clearer edge below the mouth.
Limitation
A front view can describe this silhouette. Side profile depth remains unassessed.
Try next
Pin the hair behind both ears and repeat the frontal photo at the same height and distance.

Turn one finding into a photo test

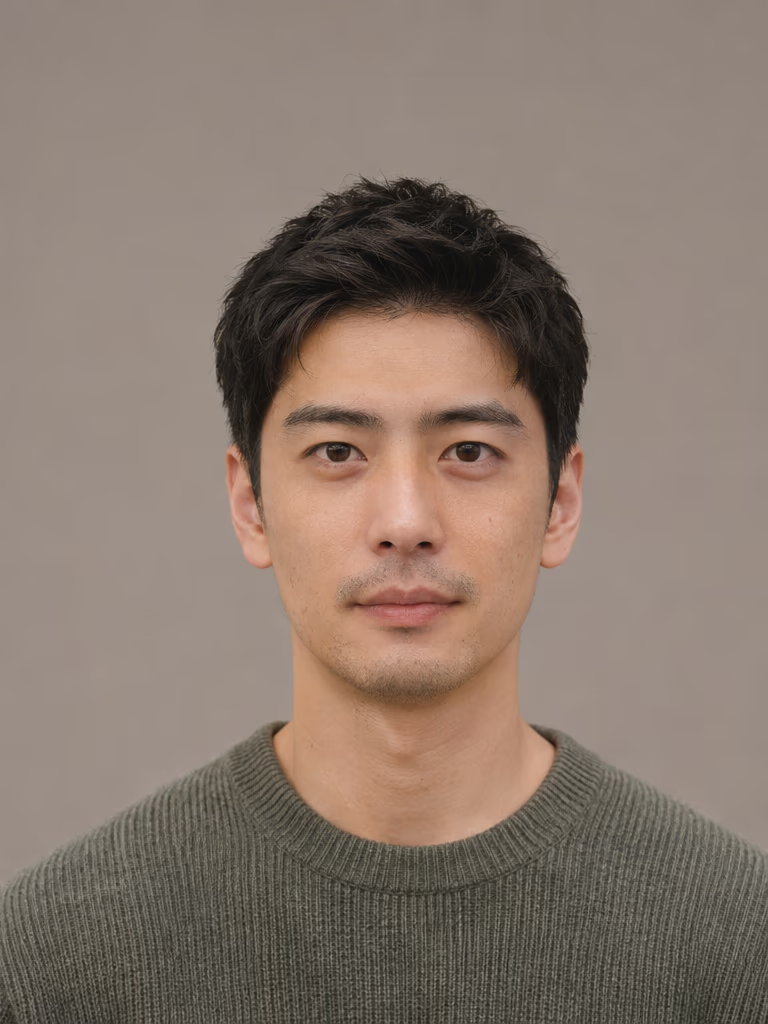
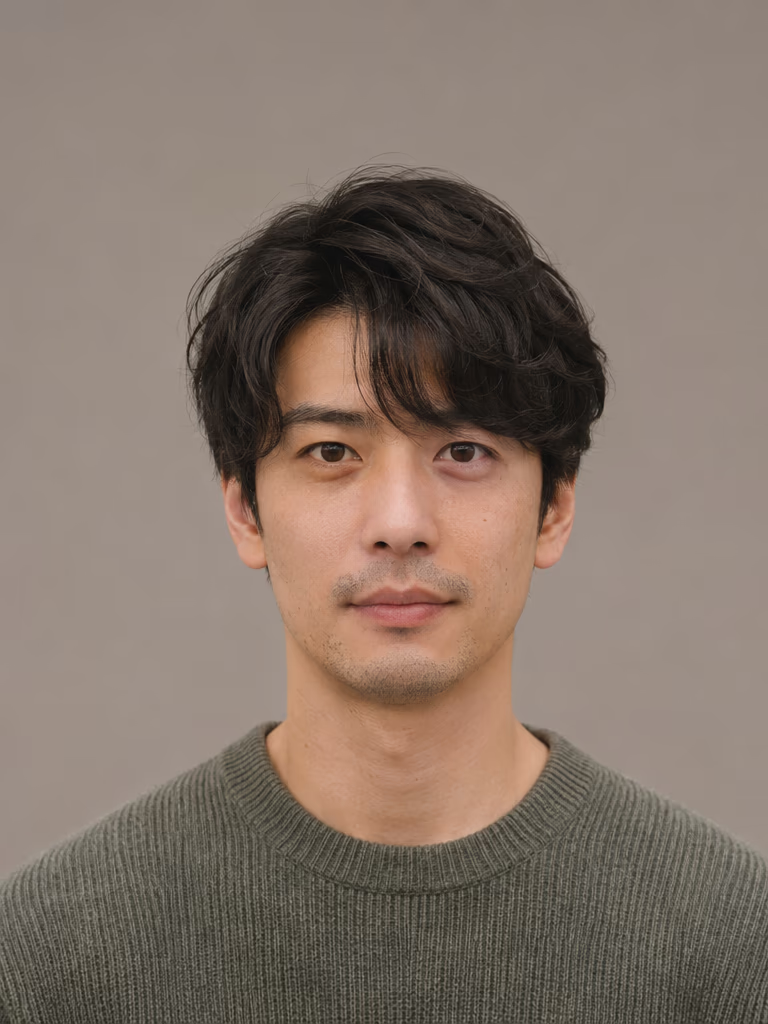
Follow an example from framing observation to style preview to a useful retake. The photos here are illustrations of the same fictional model.

  1. Keep a baseline photo

    In the example report, waves cover part of both cheeks. Choose a clear frontal frame where you can see exactly where the hair ends and the cheek begins.

    Record the light direction, camera height and approximate distance so you can repeat them later.

  2. Change the frame around the face

    Preview a shorter side part in the Style Studio. Compare how much of the outer cheek is visible and where the hair adds volume.

    You can test a related change in person by pinning back the hair on one side before making a bigger styling decision.

    Style studio
  3. Retake and compare the same detail

    Return to the original camera and lighting setup. After changing the hair, take a new photo and reread what each report says about the visible cheek outline.

    Use the dates in My Reports to reopen both analyses. The specific observations give you more context than the total alone.

From the first photo to the next

Start with a baseline, choose one change and compare it under similar conditions.

  1. Take a clear front-facing photo

    Face the camera at eye level. Use even light, show your full face and keep other people out of the frame.

  2. Find one change to try

    Read the evidence in your report. Try softer lighting, a different part or another frame, and change one thing per comparison.

  3. Save and revisit your results

    Assessments appear in your account by date. Open an earlier report or download its PDF whenever you want to compare.

Build a timeline you can refer back to

For a useful comparison over time, repeat the camera height, distance and lighting, then compare the specific observations in each report.

My reports

Example report history

  • Follow-up portrait
  • Baseline portrait

Questions before you start

Which photo should I use?

Use one clear, front-facing portrait in even light. JPEG, PNG or WebP, up to 10 MB.

How is the total calculated?

Photo-specific reference score. The total is the rounded mean of all six scores, available when all six can be assessed.

Is there an ideal face ratio?

We use ratios to describe this image and help you reproduce the comparison. Distance, pose and perspective all affect the measurements.

Where does my photo go?

Your browser detects the landmarks. We save the resized portrait privately so you can generate reports and style previews later.

What can I try in the Style Studio?

The Style Studio previews three hairstyle and outfit combinations from your report. WaveSpeed edits the saved portrait and hosts the results.

How do credits work?

Preliminary assessments, full reports and generated images have separate credit prices. Chat and assessment history are free. The plans page has subscriptions and a one-time credit pack.

How do I compare two reports?

Match the camera height, distance and light, and change one thing at a time. Compare the observations on that specific change before interpreting any movement in the total.

Put your next portrait in focus with Qoves AI

Begin with a clear photo and find one adjustment worth trying.